
February 13, 2023
. 3 min readDeploy React App With Vercel
Ready to share your app with the world? This tutorial will show you how to deploy your React app to Vercel. Get started now and publish your React app for free!

This lesson will discuss moving a React application from development into production with Vercel.
This React tutorial is part 17 of 17 in the React for beginners series.
- Part 1 – React Tutorial: A Comprehensive Guide for Beginners
- Part 2 – React Components and Data Model
- Part 3 – React Hooks: Managing State and Side-Effects
- Part 4 – Build React Form With This Best Practice
- Part 5 – Raising and Handling Events in React
- Part 6 – React Developer Tools: Debug and optimize React apps
- Part 7 – CSS in React: Styling React Components
- Part 8 – React Todos App: Add Editing functionality
- Part 9 – Profiling: Optimizing Performance in React
- Part 10 – Using LocalStorage with React
- Part 11 – How to Use React Icons
- Part 12 – React Context API: Managing Application State
- Part 13 – Zustand Tutorial: Managing React State
- Part 14 – React Router: The Beginners Guide
- Part 15 – React children props: What Is It?
- Part 16 – React Toggle Button: Let’s Switch Navigation Widget
What Is Vercel?
Vercel is a cloud platform for hosting static websites and dynamic applications. It offers an easy way to host a routing-based React application. Unlike platforms like GitHub Pages, where hosting a routing-based app can be tedious, Vercel makes the process easy and only requires minimal configuration. Other hosting platforms include Netlify, Heroku, Surge, and Firebase.
With Vercel, we can deploy project files from development to live in production in different ways. On this page, we will look at the Vercel dashboard implementation. Vercel CLI, Vercel API, and Deploy Hooks are other ways to deploy projects to Vercel.
The Vercel Dashboard
Using this method, we will create a project and link it to a Git provider. Here, we’ll use GitHub.
We’ll start by pushing our React Vite project from our machine to GitHub. We’ll do this in two phases. We’ll move the project files to the local repository and then to the remote repository.
Ensure you have Git installed on your machine. You can find out by entering the
git --versionin your terminal. If you don’t have it installed, you can download and install Git for your operating system and set it up.
Initializing Project as a Git Repository
The first thing to do when setting up a git project is t initialize the local git repository. From the project directory, let’s run the following command in the terminal:
git init
This creates a hidden .git folder in the project directory. You can confirm by turning on the hidden file types in your operating system.
Projects created with the
create-react-appCLI already have the.gitfolder. For that, we don’t need to reinitialize the git repository with the above command.
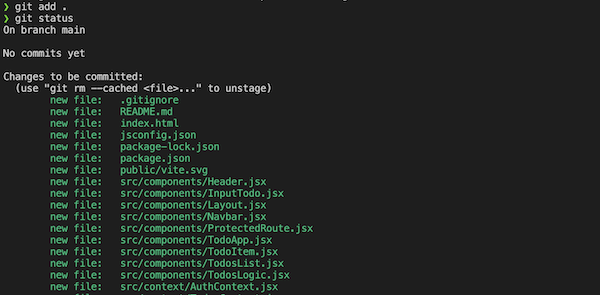
Next, we’ll ensure all project files become part of the repository. If we check the current status of the working tree with git status, we’ll have the project files in red like so:

Deploy React to a Local Repository
From the terminal, run the following command:
git add .
This command keeps all the working files in the staging area. The dot (.) indicates we are adding all the files. If we want to add a specific file like index.js, we will run git add index.js.
If we now check the status of the working tree, we should have the files in green like so:
Next, we’ll commit all changes to the local repository using this command:
git commit -m 'Add initial commits'
At this point, the project files are now in the local repository. We can now push them to the remote repository.
Deploy React to a Remote Repository
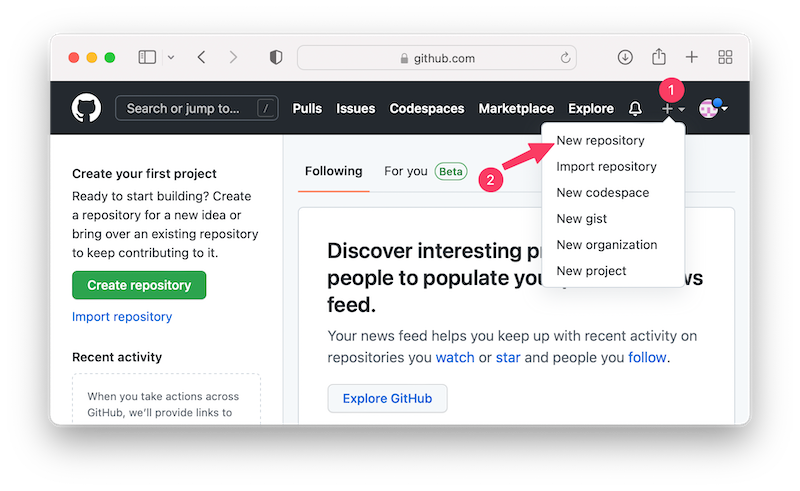
Start by creating a GitHub account if you don’t have one, and create a new repository:
On the new page, we’ll name the repository. In my case, I’ll call it react-todos. Other fields are optional and self-explanatory.
We can always include a
README.mdfile from the development environment. So, let’s ignore the Add a README file field.
Once we’re done, let’s click on the Create repository button. This takes us to a page where we’ll find additional information on what to do.
Find the commands that look like the following and run them in the terminal:
git branch -M main
git remote add origin git@github.com:Ibaslogic/react-todos.git
git push -u origin main
The branch command ensures we’re in the main branch. The remote command adds the repo as the remote repository. Then, the push command pushes the project files to the main branch.
If we reload the GitHub page, we should have our project files already pushed to our account.
Connecting GitHub Repo to Vercel
For first-time users, head to the Vercel website and signup for a free account. Once you confirm your account and log in, you need to install Vercel on your GitHub account so that you can import projects from GitHub:
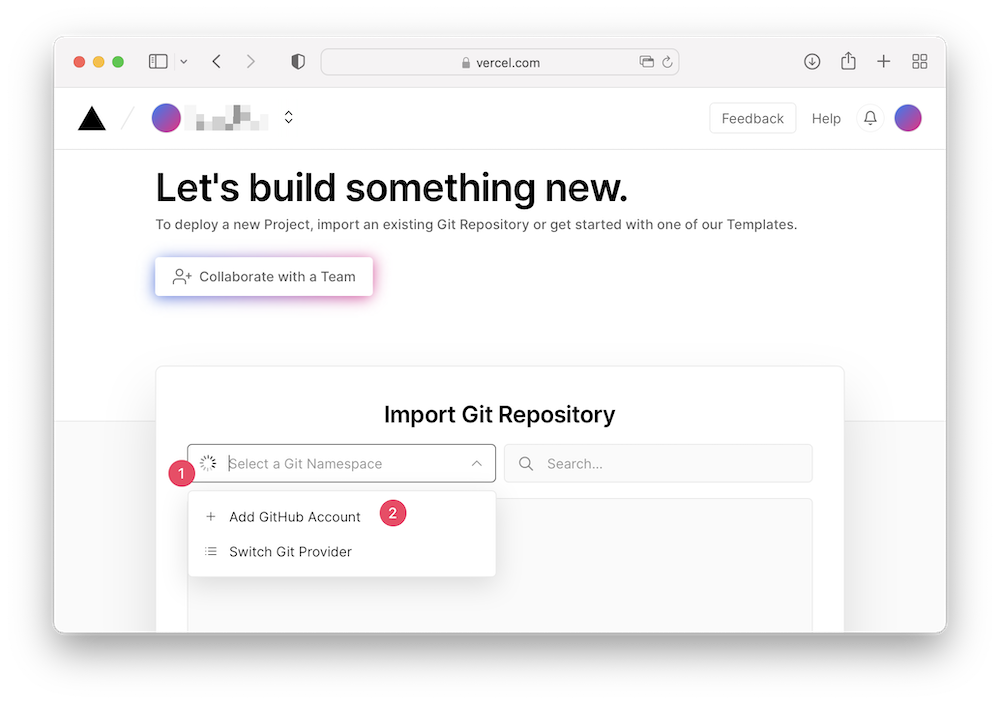
Add your GitHub account and install Vercel. If you save the settings and navigate back to the “Import Git Repository” page, you should see that your GitHub is connected. From there, you can now import projects from GitHub.
For existing Vercel users, you should see a button to add a new project from the dashboard. Then, that should take you to where you import your git repository.
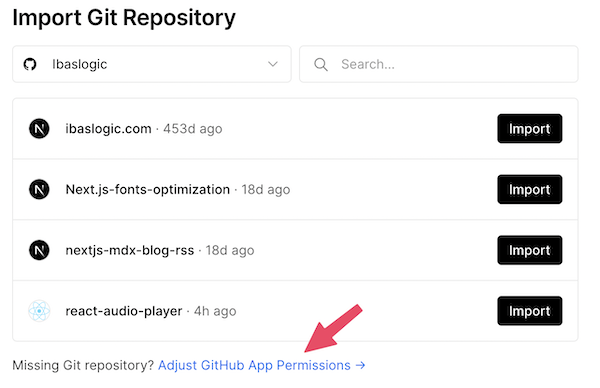
If you can’t find the project, follow the Adjust GitHub App Permissions link to select your project and import it.
On the configuration page, Vercel will detect the project framework (in our case, Vite for React) and enable the correct deployment settings. So, leave the default options and click on the Deploy button to start the deployment process.
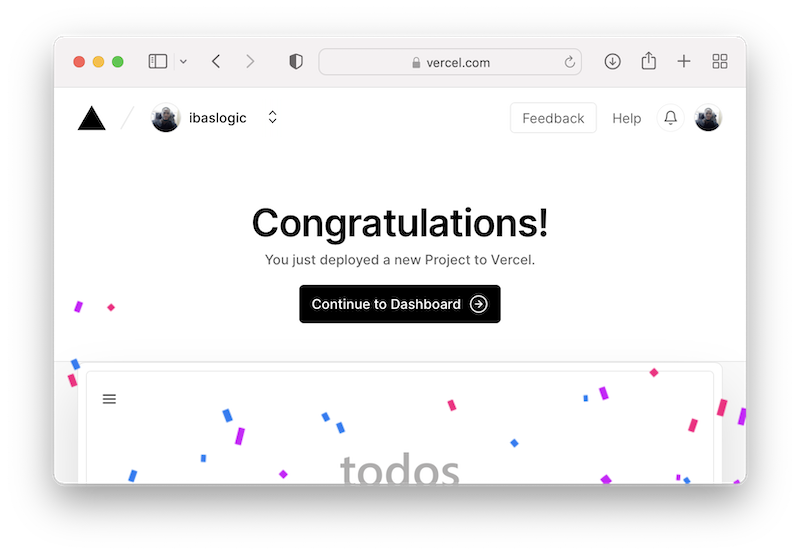
Once the deployment is complete, we should see a congratulations message. You can click on the preview to visit the site URL.
It should work as expected if you interact with the application and navigate different routes. However, if we directly access a path like /about or manually reload other routes aside from the index, we’ll get an error page.
If we had created a React project without implementing routing, the above procedure should be enough. However, for a routing-based React application with Vite, we need to provide Vercel with routing information.
Adding rewrites Option to the vercel.json File
Create a vercel.json file in the project root and add the following configuration:
{
    "rewrites": [{ "source": "/(.*)", "destination": "/" }]
}
With the above code, we’re telling Vercel to map incoming routes to the file that points to '/', i.e., the index.html file. Remember, this file contains the entire code for our app, including the different routes we managed with the react-router's browser router.
Remember to save the file!
Continuous Deployment
Now that we’ve made changes to our code, we need to push the updates to GitHub. Then, Vercel will trigger a new deployment automatically, and the changes will be available after a few moments.
git add .
git commit -m 'Add vercel rewrite file'
git push
Open GitHub and ensure the change is added. Likewise, confirm that Vercel successfully rebuilds the project. If all goes well, the project should now work as expected.
Congratulations!
That wraps up Ibaslogic’s React tutorial series for beginners. If you have read this far from the first lesson, I say again, congratulations!
Everything you’ve learned in the React course is enough to get you started with building excellent applications. What is required of you from now on is practice!
If you enjoyed the React series, ensure you follow Ibas on Twitter, and if you have the time, tweet to him to show you care!
Project source code here.